0 Comments
There were a lot of tools we used in this class and they were all amazing but some of the tools stuck out to me more than others, my favorite tools were: masking with letters because you could do a lot of cool designs with it and I like how if you mess up you can change it easy and it is also easy to do which is nice. Another favorite was the change background tool because you can make a lot of cool edits with that and if you put a lot of effort into the piece it can be really amazing. Another cool tool we learned was the clipping mask tool where you can put a picture into words and it can make a boring word look amazing and some of the ideas you could use for that would be endless. The last cool tool is word art, word art allows you to pick a outline of a picture and then you choose words to add and then you have a picture made from just words amazing!
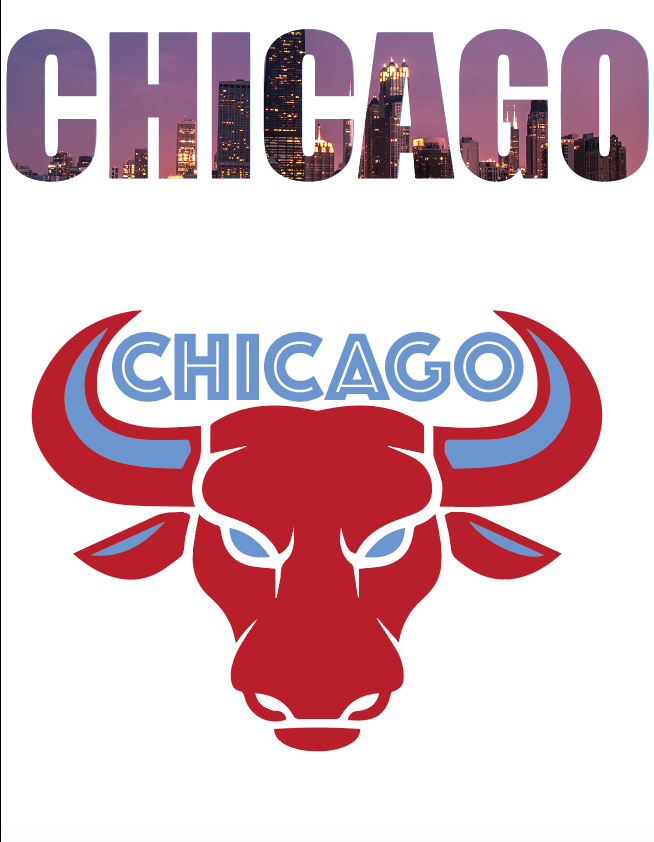
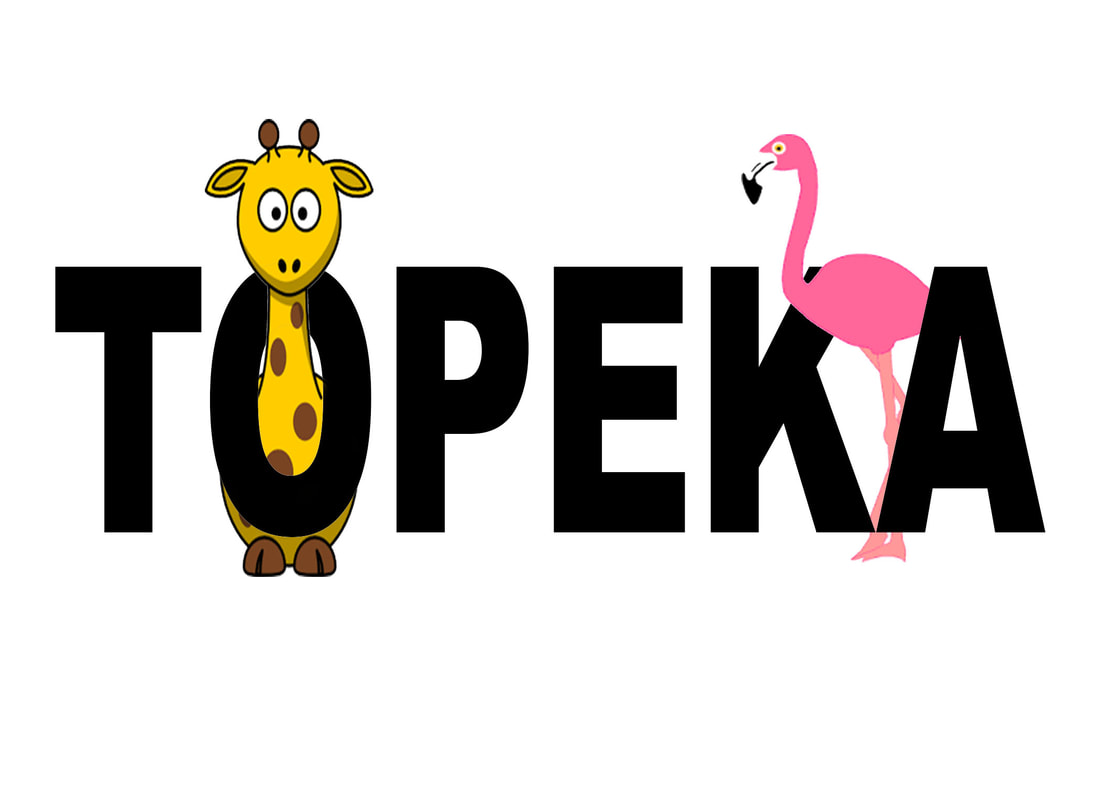
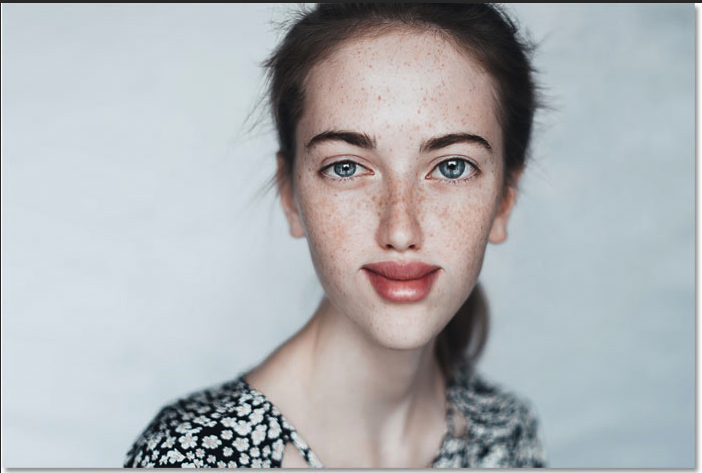
In this class I learned how to work adobe illustrator and some of the things you can make with that is awesome. I learned how to use photoshop which is AMAZING and I am so happy I learned how to use it so I can make so of my own piece for home and I won't have to try and fine some weird internet photo changer to help add effects to my photos. I also learned how to use ippicy which is the best online picture editor in my opinion. Ippicy allows you to do some things that are in photoshop for free. I plan on using some of these tools outside of class like ippicy because it is free and it is a great photo editing website to use and since its free I'll be using it a lot. I also would like to use photoshop and if I buy it I will definetly be using photoshop. The first thing I did was type out Milwaukee and changed the size of the font. I then put the Milwaukee Bucks logo over the first e and I put a basketball over and under the w. To do this you have to type a work then place embed a picture you want and hit the button that looks like a camera down on the bottom. That will add a blank mask over the picture. Then you go and control click over the T for the text and then use the brush tool and you can erase and put the picture back in. 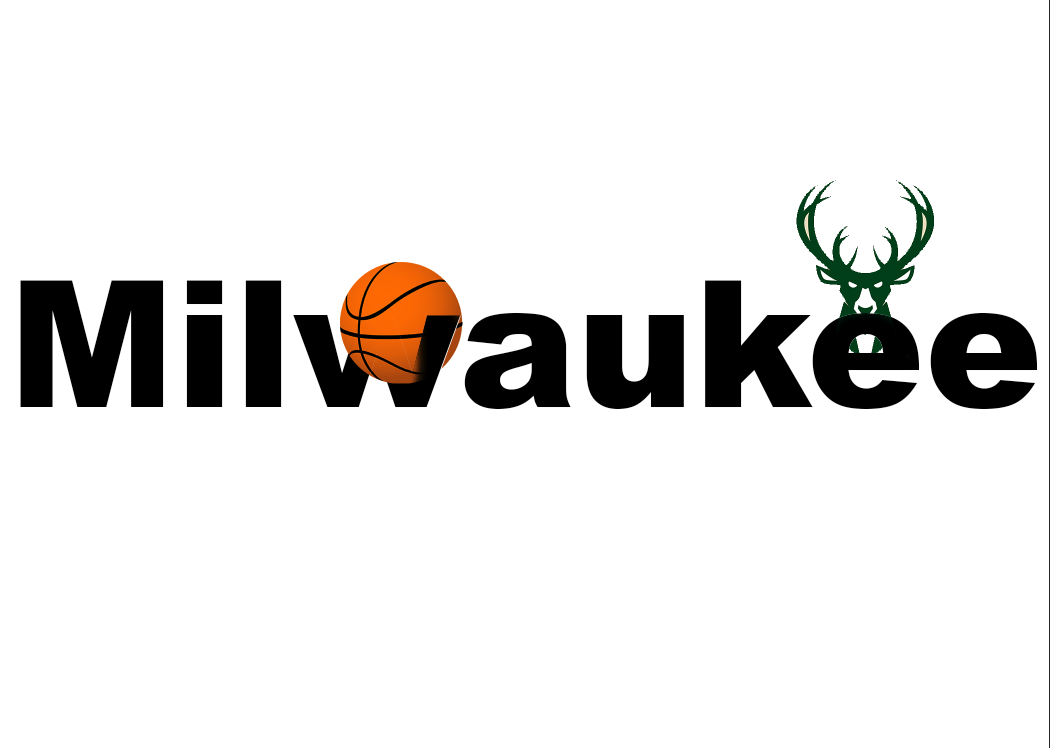 I changed was the size of the lips, made her forehead bigger and made her lower face skinnier.
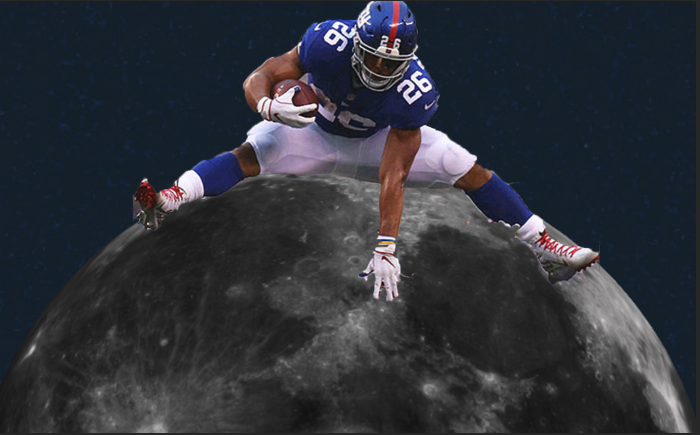
The first thing I did was find two pictures, one that I will use as the finished product and one for cool colors. After I found the two pictures I clicked Image, Adjustments, and finally match color and changed the power on the luminance and the color intensity. All I did to the picture was move the plane from the center of the picture to the top left of the picture. All I did to the photo was put a supernova background in the background. |


 RSS Feed
